TeleSculptor Installation
The TeleSculptor software uses a standard installer package on Windows. To install, double click the installer icon and step through the installation steps as shown in the images below. This will require administrative privileges. The name of the 64-bit Windows installer is TeleSculptor-1.2.0-Windows-AMD64.exe.
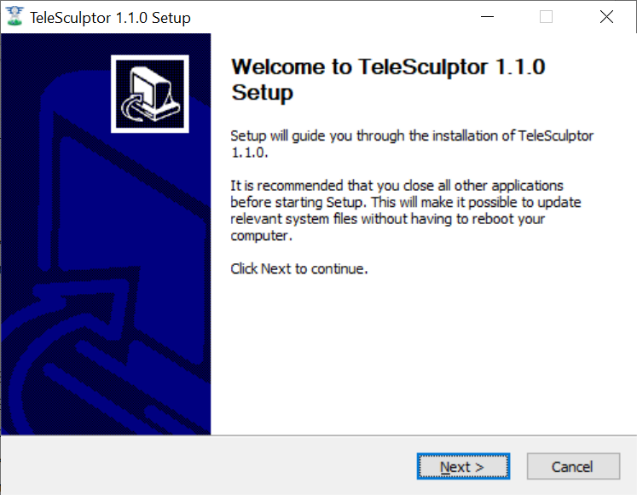
1. Click “Next” to begin the setup

2. Click “I Agree” to accept the BSD license
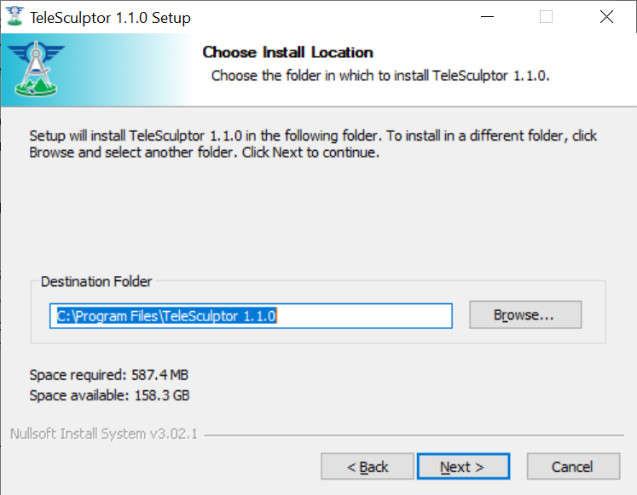
3. Click “Next” to accept the default destination
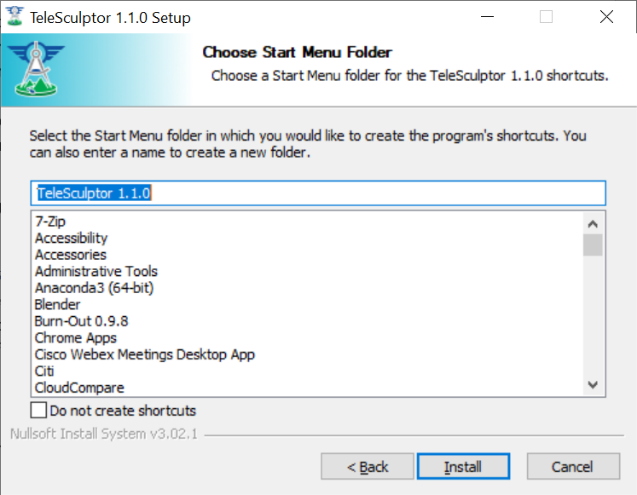
4. Click “Next” to accept the Start Menu location
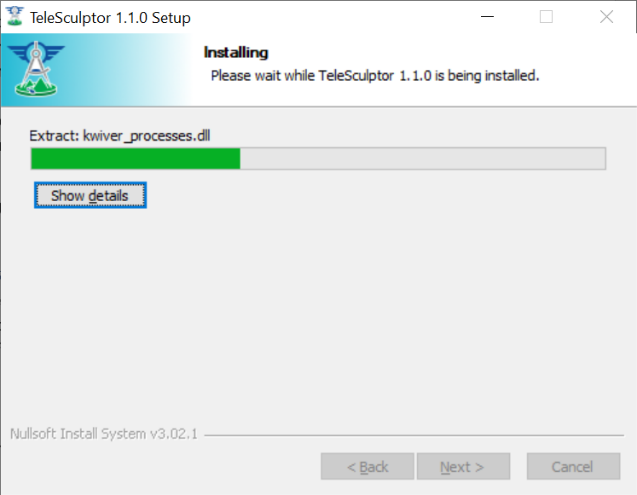
5. Wait for files to install
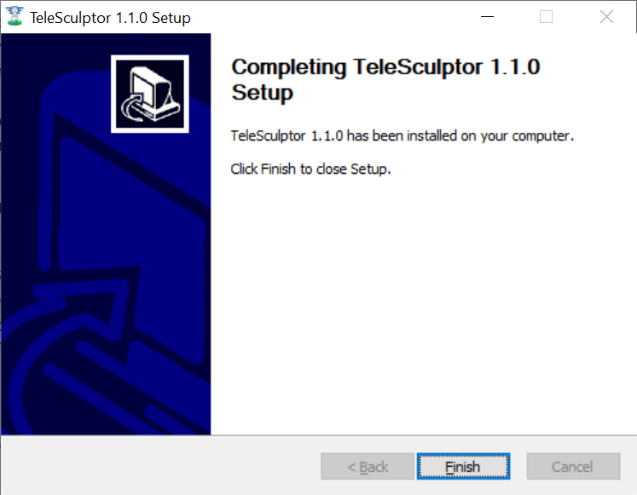
6. Click “Finish” to complete
To run the application, find TeleSculptor in the Start Menu and click the icon. The program will open with an appearance as shown below.
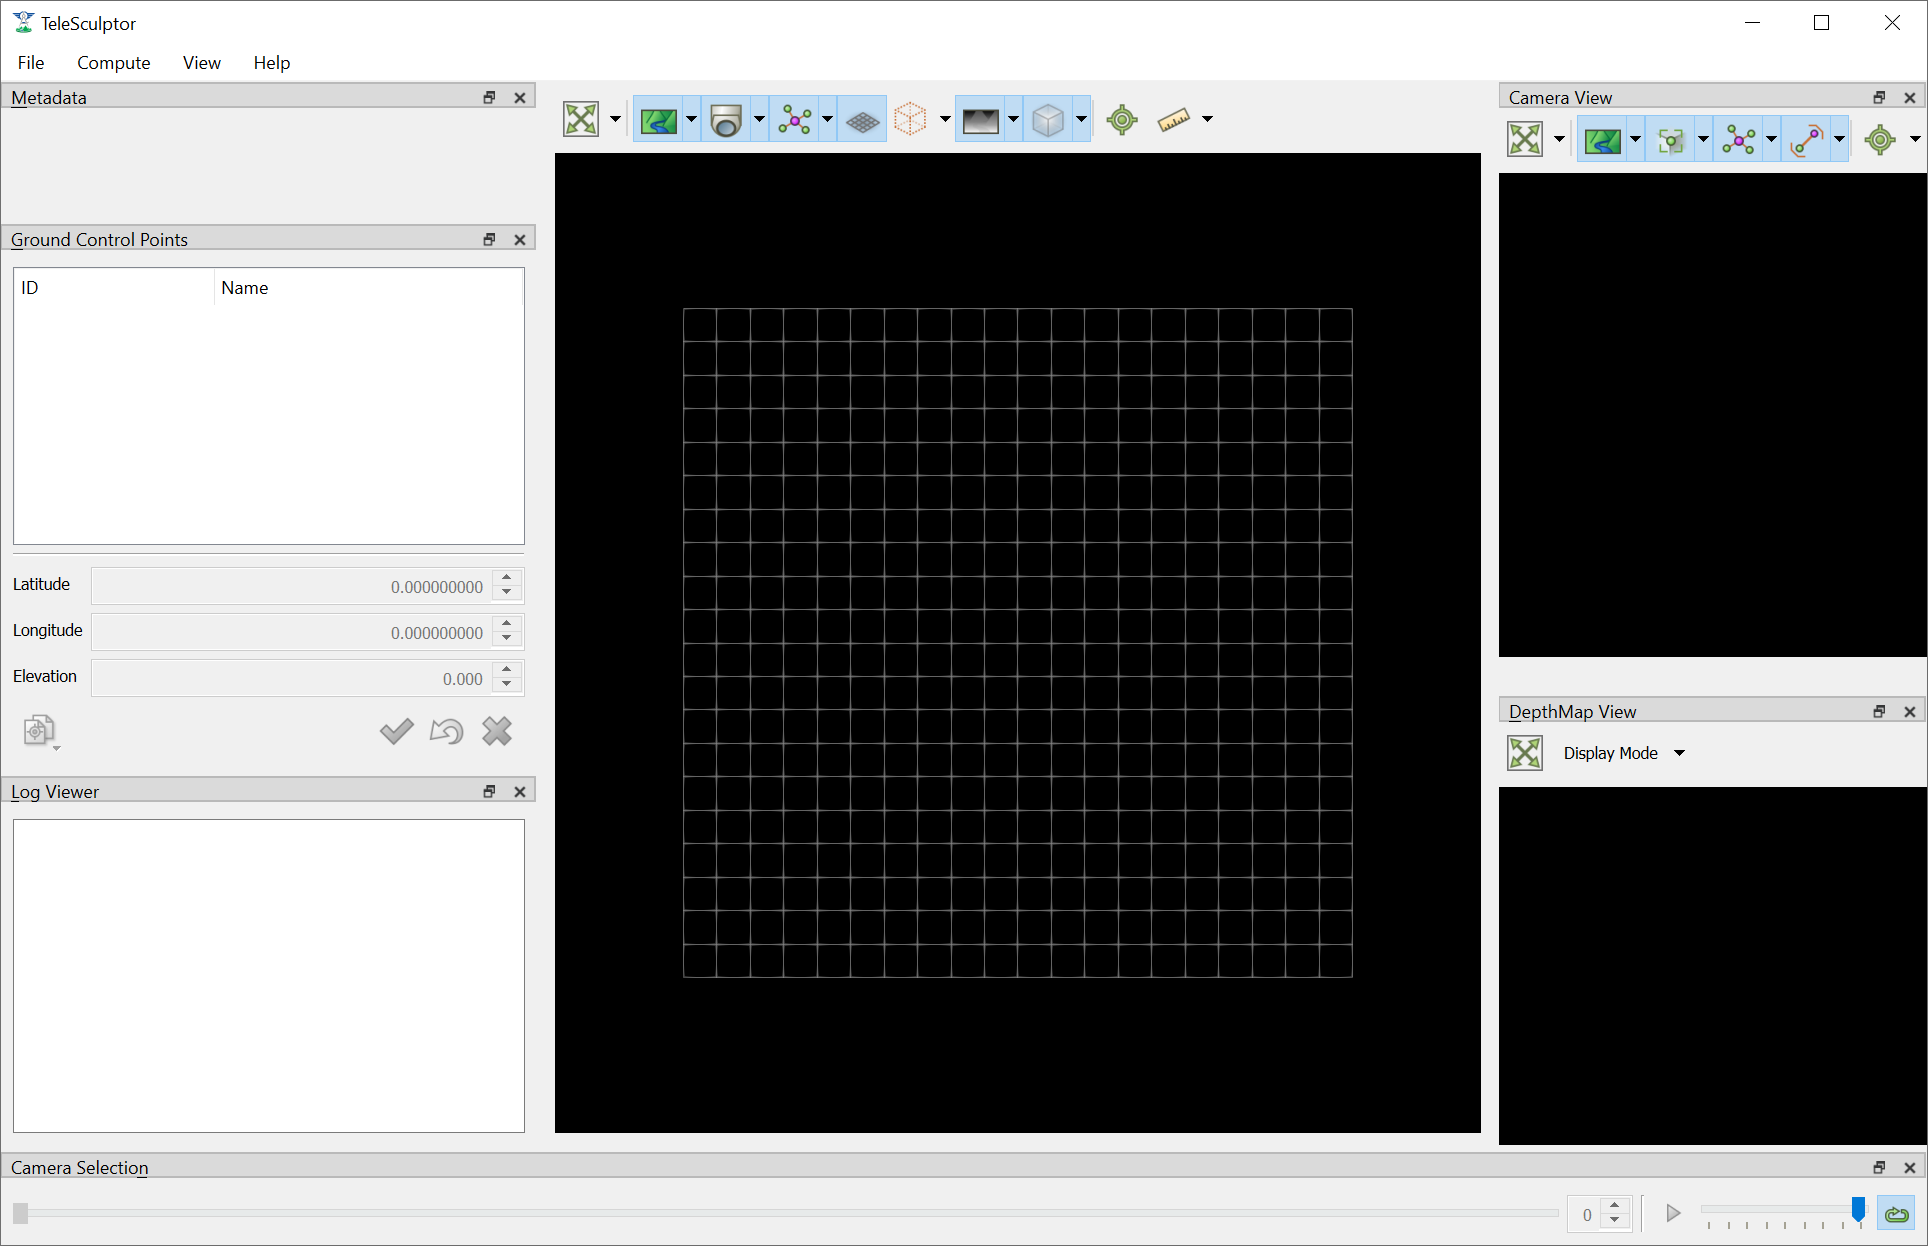
The TeleSculptor Application when first opened.
Once the application is open, you can access this documentation from the Help menu or by pressing the F1 shortcut key.
SketchUp Plugin Installation
The TeleSculptor application also comes with a plugin for SketchUp that allows SketchUp to read TeleSculptor project files. This is not installed automatically. To install the SketchUp plugin, first locate the plugin in your TeleSculptor installation. If TeleSculptor is installed in the default location, you will find the plugin at:
C:\Program Files\TeleSculptor 1.2.0\share\telesculptor\1.2.0\plugins\sketchup\kw_telesculptor.rbz
To install this plug in SketchUp, first open SketchUp. Next navigate to the Window → Preferences menu as shown in the figure below. Within the System Preferences dialog, click on Extensions in the menu on the left. Now click the Install Extension button at the bottom of the dialog. Use the file open dialog to locate the kw_telesculptor.rbz file at the location above and click the Open button. Administrative privileges are needed to complete the installation. Once installed, “TeleSculptor Importer” will appear in the Extensions list and the box next to it should be checked to activate the plugin. The plugin may not be fully active until the SketchUp application is closed and re-opened.

Access the SketchUp Preferences to install the TeleSculptor plugin.
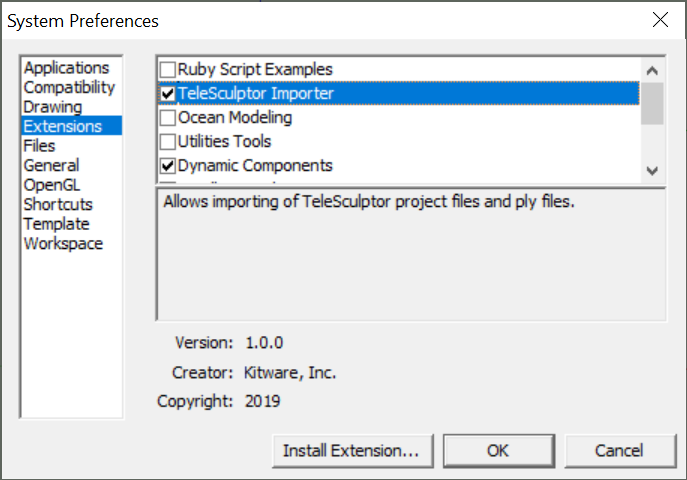
TeleSculptor Importer installed and activated in the SketchUp Extensions list in System Preferences.
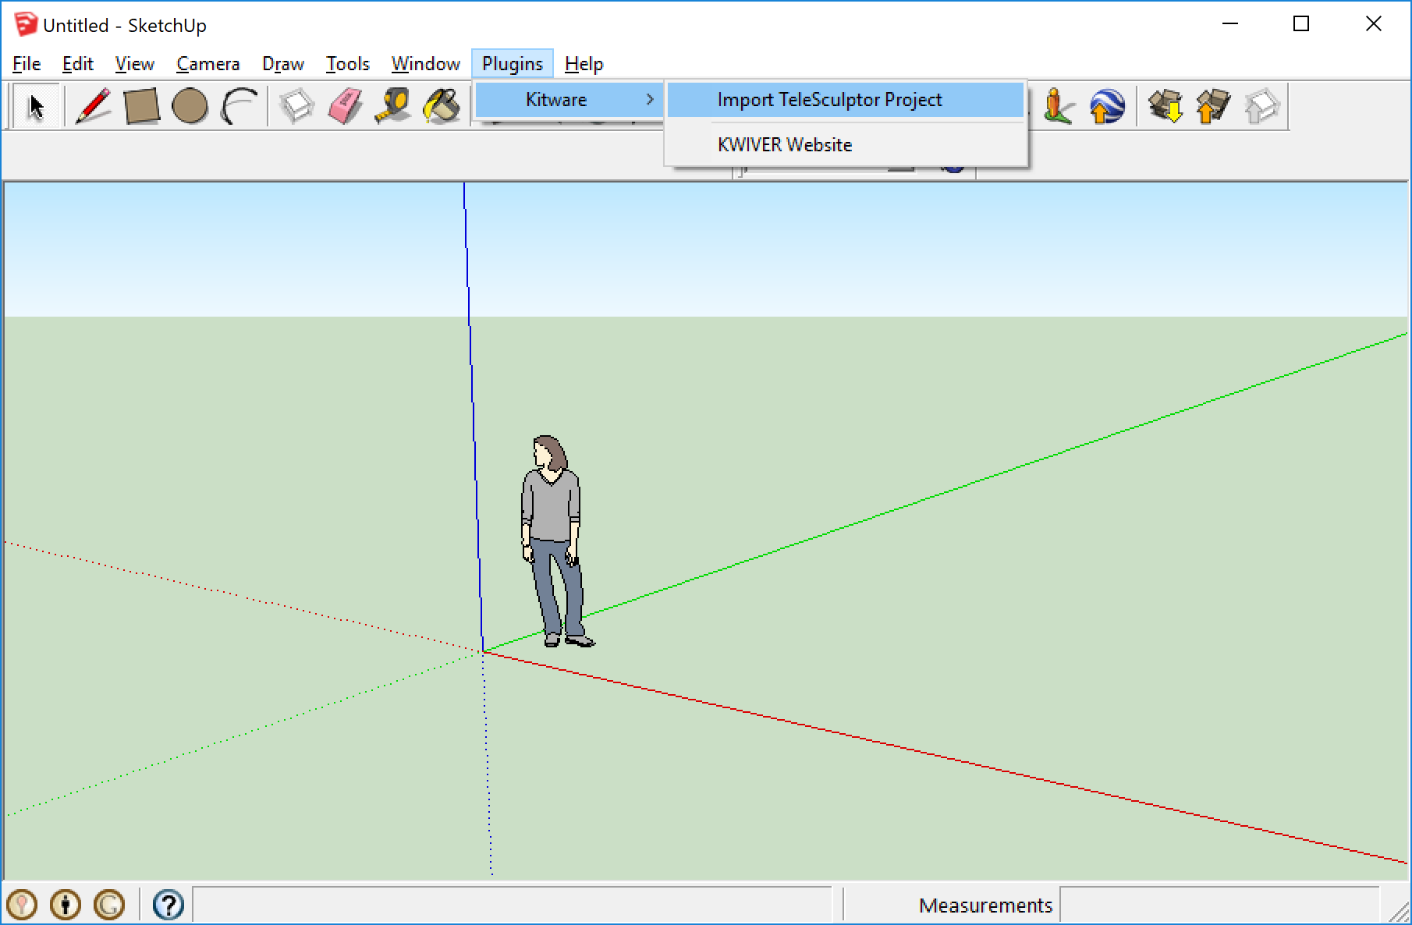
The Import TeleSculptor Project option in the Plugins menu after installing the extension.